Supply Raid - Operation Edgelord July match report
Taking our things back!
By Luca “DropBear” Girolami
Overview
Mission: Supply Raid
Forces: White Banner Army versus Jurisdictional Command of Corregidor (300)
Deploy First: WBA
First Turn: JCC
JCC list code: gfYKY29ycmVnaWRvcg5Db3JnaSB3aWxkaW4nIIEsAgEACgGBrgEDAAKBrgEHAAOBrgEEAASBrgEIAAWBrgECAAaGBwEFAAeGDwACAAiBKAEBAAmBlAECAAqBkAEHAAIABQGBnwEHAAKBpQEEAAOGKgEBAASBlAECAAWBnAEBAA%3D%3D
JCC Fireteams
Core: Wildcat HRL, Wildcat NCO Spitfire, Wildcat Hacker, Wildcat Lieutenant, Wildcat BSG
Haris: Evader Feuerbach, Jazz, Alguacil
Duo: Jaguar, Diablo
Fulfillment Associate: Jaguar

WBA list code: gM0Md2hpdGUtYmFubmVyLE9wZXJhdGlvbiBFZGdlbG9yZCAtIFN1cHBseSBSYWlkIC0gSnVseSAyMDI0gSwCAQEACQB8AQUAAHwBBgAAfAEGAAB8AQkAAHwBCgAAhdUBBgAAhtwBAwAAhtsBAwAAhiIBBQACAQAGAIYBAQMAAIYBAQMAAICIAQIAAICIAQIAAICMAQEAAICCAQUA
WBA Fireteams
Core: Zhanshi ML, Zhanshi Hacker, Zhanshi Hacker, Zhanshi Paramedic, Zhanshi Lieutenant
Haris: Yé Māo Engineer, Dokkaebi Mk12, Sulyong FO
Fulfillment Associate: Dokkaebi
Deployment
Going second I chose to value survivability over ARO presence. Counting opponent’s troopers I grew suspicious of the advent of a Tomcat, a Hellcat or even Carlota Kowalsky. All this considered I left Zhanshi ML and TR bot up for ARO duty, while pretty much the rest of Deployment Zone was oriented to cover such interferences. My plan was to activate a Crate with Dàofěi and steal/activate two or more Crates with the Haris.
My opponent deployed quite safely for having the first turn. However he got already a plan: Jaguar/Diablo duo on a Crate, Wildcat Core on another one and Bandit/Moran for a third one.
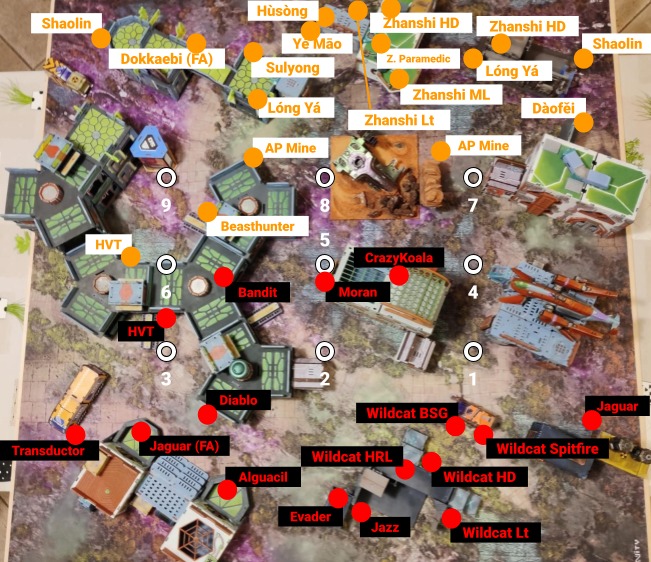
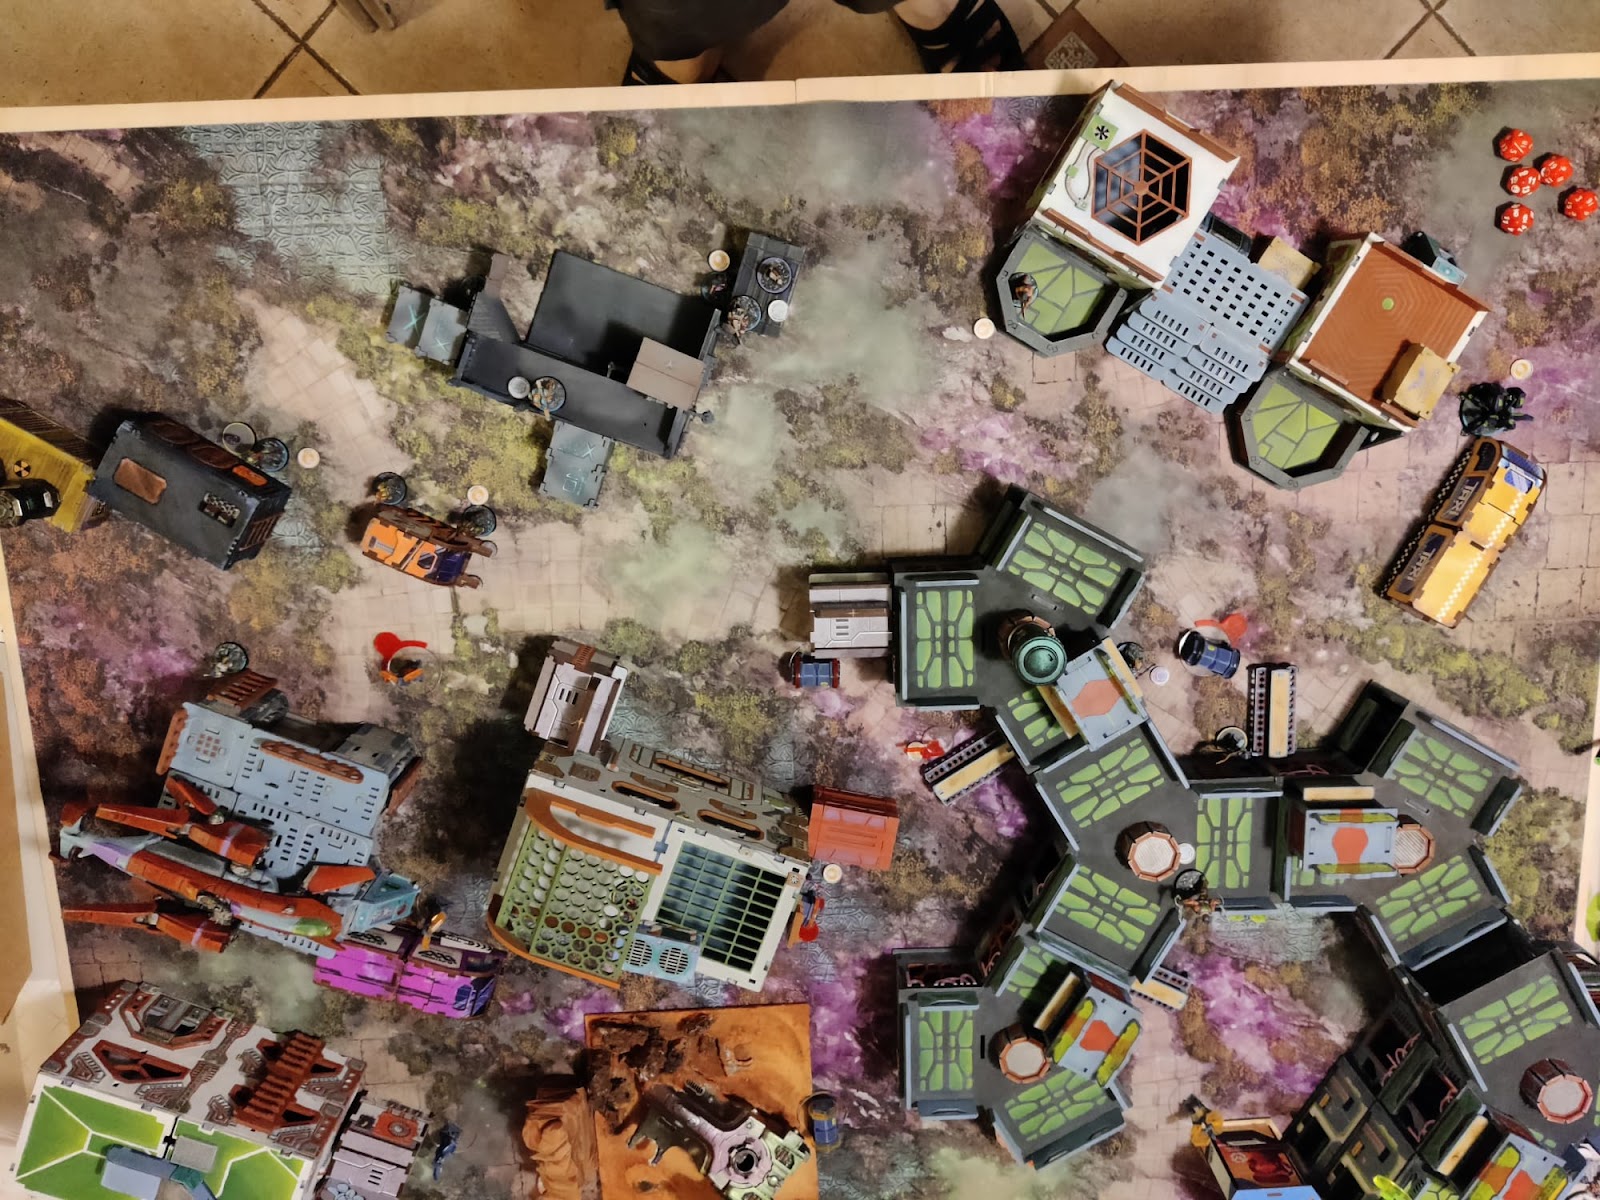
Disclaimer: crates numbers
To locate exactly which box we're referring to, we've decided to assign a number to each one: from WBA player POV, top row is Crate1, Crate2 and Crate3 (closest to JCC Deployment Zone, from left to right). Mid row is Crate4, Crate5 and Crate6 (from left to right). Bottom row is Crate7, Crate8 and Crate9 (closest to WBA Deployment Zone, from left to right)
Turn 1
Top of 1 - VeryFastPanda (JCC)
Moran activates Crate5, remaining prone, and moves in its cover. WildCat core is moved forward, toward Crate1, remaining outside the LOF of Hùsòng. Wildcat Spitfire is then moved to engage Zhanshi ML. Dice are rolled and Wildcat gets back victorious. On the other side of the Deployment Zone, Jaguar and Diablo move forward toward the centerline. Jaguar, being Fulfillment Associate, tries to activate Crate3, requiring three attempts to succeed. Wildcat hacker tries as well on Crate1, requiring three attempts as well (third time’s a charm!). The Core is then withdrawn in the safety of the Deployment Zone. Bandit is moved prone near Crate5.
Bottom of 1 - DropBear (WBA)
A Monk is moved forward and drops a Smoke Grenade on Crate8. Haris is moved forward and split: Yé Māo and Sulyong toward Crate8, Dokkaebi toward Crate9. Dokkaebi shoot two Pitchers near Diablo, failing both rolls. It then moves deeper and get back immediately, scoring Extract IFF Logs on Diablo. It then activate Crate9 and moves back in the Deployment Zone. Sulyong is moved toward Crate5 causing the AROs of Evader (who shoots with his Feuerbach) and a Crazykoala, while Moran dodges. Four LSG shots made short work of the Moran, while Sulyong survives the Crazykoala and the Evader misses his shots. Sulyong activates Crate5 (effectively stealing it), but dies from Evader's Feuerbach. Yé Māo activates Crate8. Dàofěi moves forward toward the centerline and activates Crate7 along the way, re-camo-ing with the last order.
Turn 2
Top of 2 - VeryFastPanda (JCC)
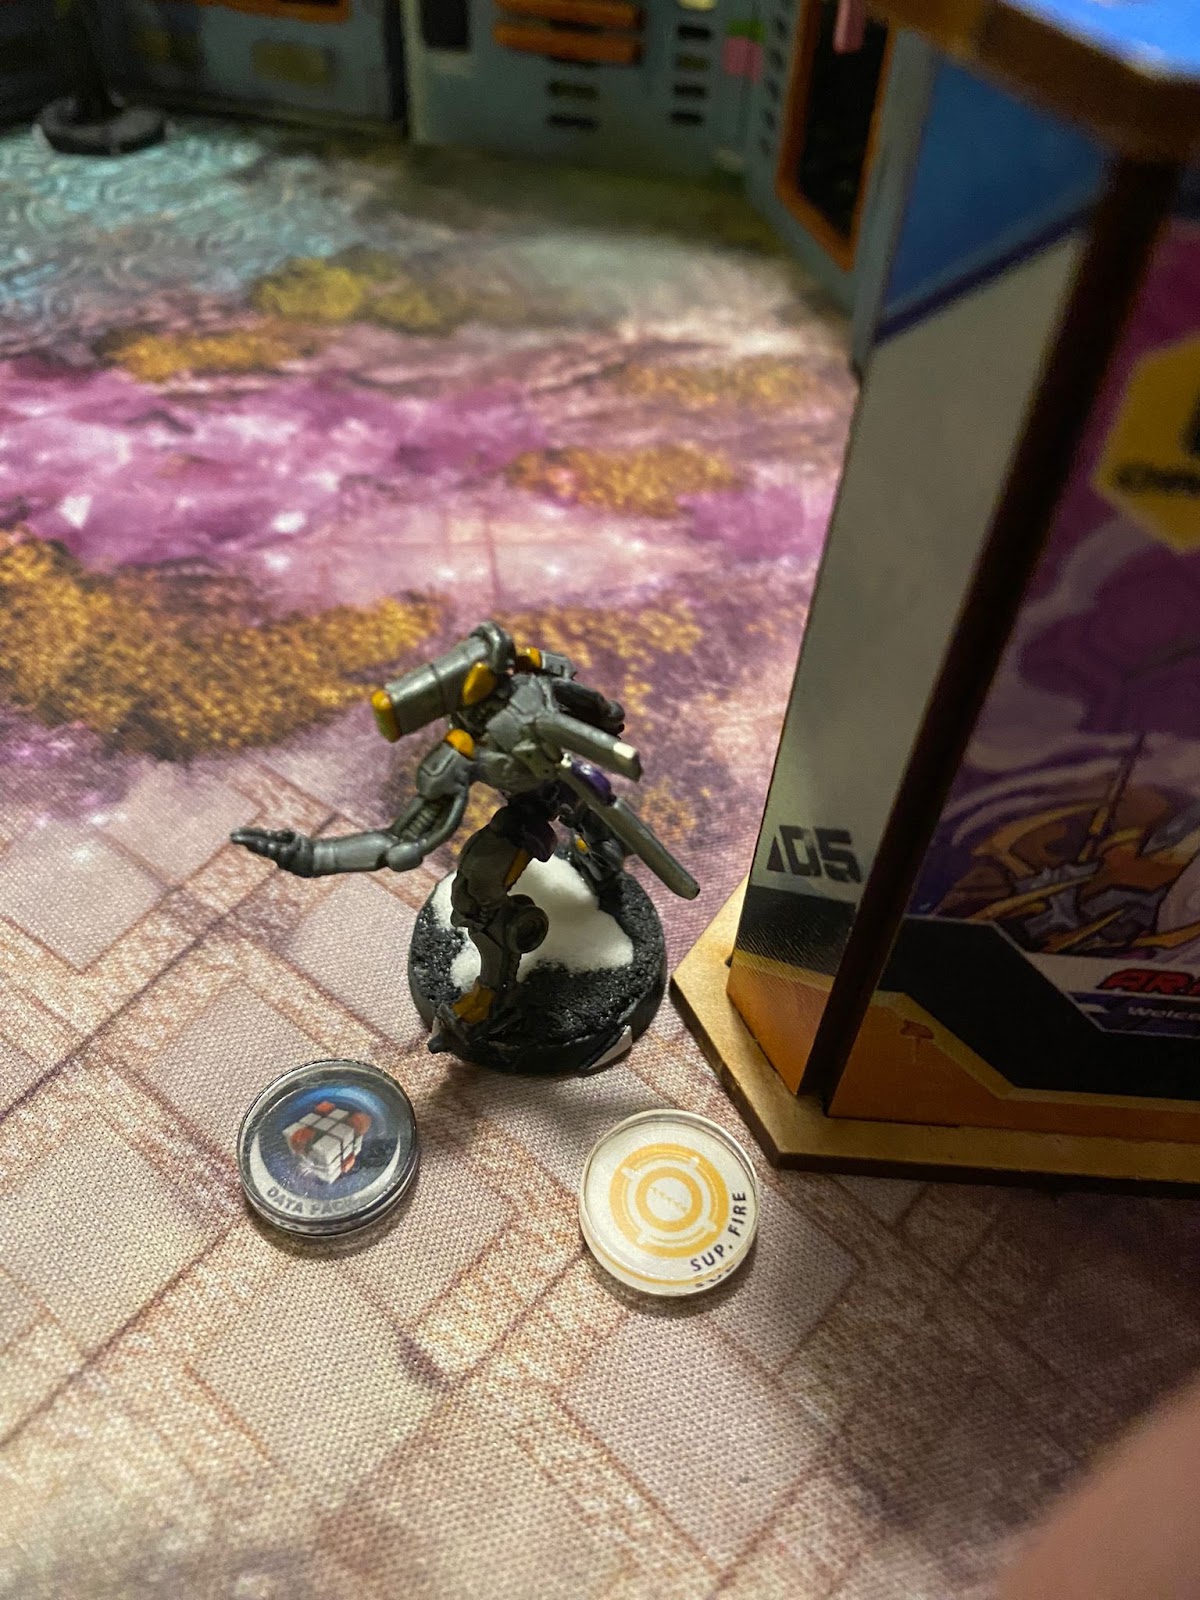
Crate1 and Crate3 are Extracted. Wildcat Core is moved around its starting position. Wildcat HRL succeeded in discovering a Lóng Yá, which declared no ARO. The Jaguar deployed near the table edge is moved toward the Dàofěi, which uses a Spotlight during Jaguar's stride. At the second attempt the Jaguar became Targeted (WBA player scored Telemetry), but he successfully smoked his way to the Dàofěi. Two orders later Dàofěi was left Unconscious, Isolated and Immobilized-B by Jaguar's E/M CCW, which withdrew in the back of a building (laughing maniacally). Diablo moves toward Crate5 and then Berserks poor Yé Māo beside Crate8. Yé Māo goes Unconscious but Diablo dies in the process (from a consistent number of AROs). Jaguar drops a Smoke Grenade beside Crate8, leaving a safe area for Bandit to act. Bandit activates Crate5 (stealing it back!) and then tries to Destroy Crate8, but his DA CCW wasn't enough. He then activated it and went prone behind Crate8. Wildcat Core is moved again to let Wildcat Hacker reach and activate Crate2, but fails the roll.
Bottom of 2 - DropBear (WBA)
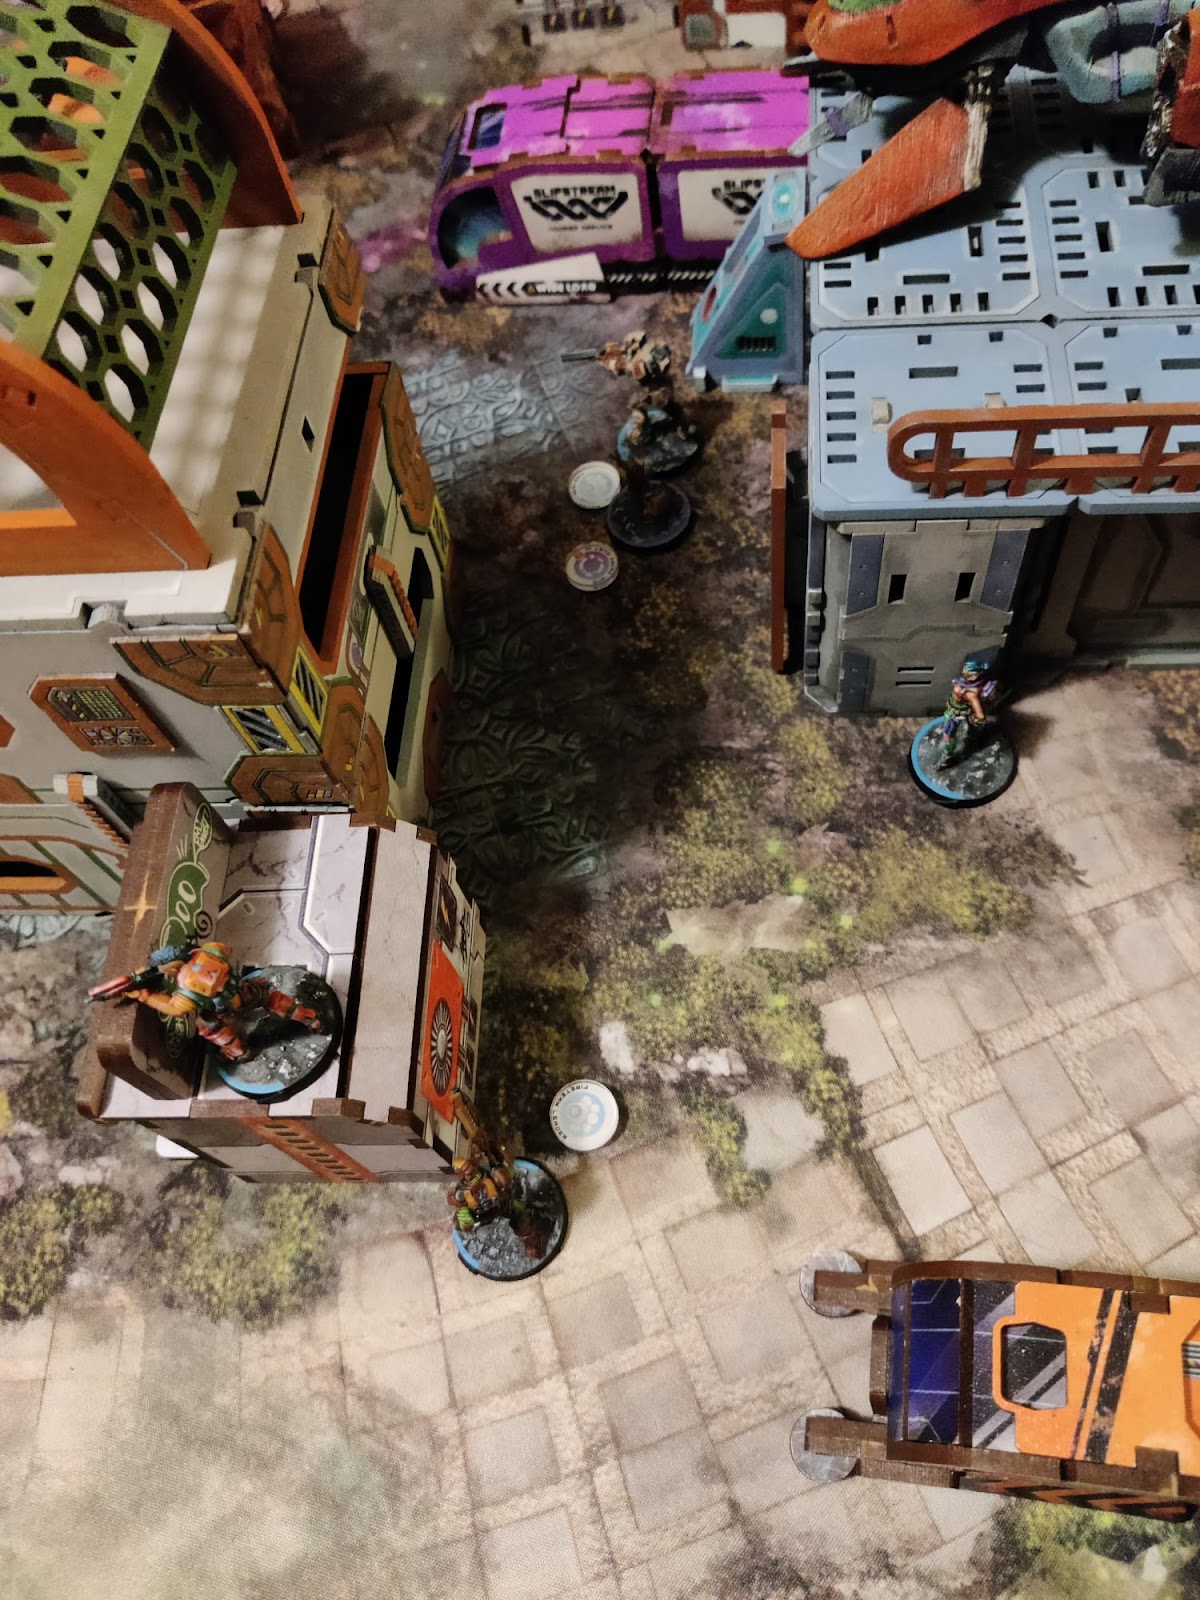
Crate7 and Crate9 are Extracted. A monk impetuously moves forward, helping secure the zone around Crate6. He then smokes besides Crate8, to let things happen without the AROs of Evader. Zhanshi Paramedic shots two Medikit to Yé Māo, who stood up again. Yé Māo then proceeds to Destroy Crate8 with a D-Charge and flee away toward the Deployment Zone with a Supply Box. Having the Wildcat HRL moved, a Lóng Yá has now enough space to move forward. It made an attempt to kill a Jaguar, but the smoke roll beat the Panzerafusts's. Lóng Yá then withdrew. Dokkaebi moved forward in the zone of Crate6 and went into Suppressive Fire. Yé Māo went into Suppressive Fire as well.
Turn 3
Top of 3 - VeryFastPanda(JCC)
Crate5 is Extracted. Jaguar moved cleverly and got the chance to drop two LSG templates on Dokkaebi, Beasthunter and a Monk. Dokkaebi shots and went into NWI, Beasthunter dodged successfully in Silhouette contact with Jaguar, Monk died, Jaguar went Dogged. Frustrated by constant failures, Wildcat Hacker applied a D-Charge to Crate2, getting the desidered box (in a pyrotechnic way). A Tomcat landed on the side of the table, taking Dokkaebi by surprise. One order later, the bot is no more and Tomcat is moved where he can both score his and deny the opponent's Secure HVT. Bandit re-camo-ed and goes after Yé Māo. He succeeded to kill her (and Hùsòng, which happened to be under the same template), but got killed by her Suppressive Fire. Her box was dropped. Wildcat HRL, now leading a three-man-Core, kills Lóng Yá. Evader and his haris are moved toward Crate4. The other Lóng Yá shot as ARO but got easily dismantled by Feurbach. While moving, Jazz shot two Pitchers beyond the centerline (one failed) to complete the Secret Objective (Extend Arachne Network). Another move put Evader in reach of Crate4, immediately Destroyed via D-Charge: another box has been obtained.
Bottom of 3 - DropBear (WBA)
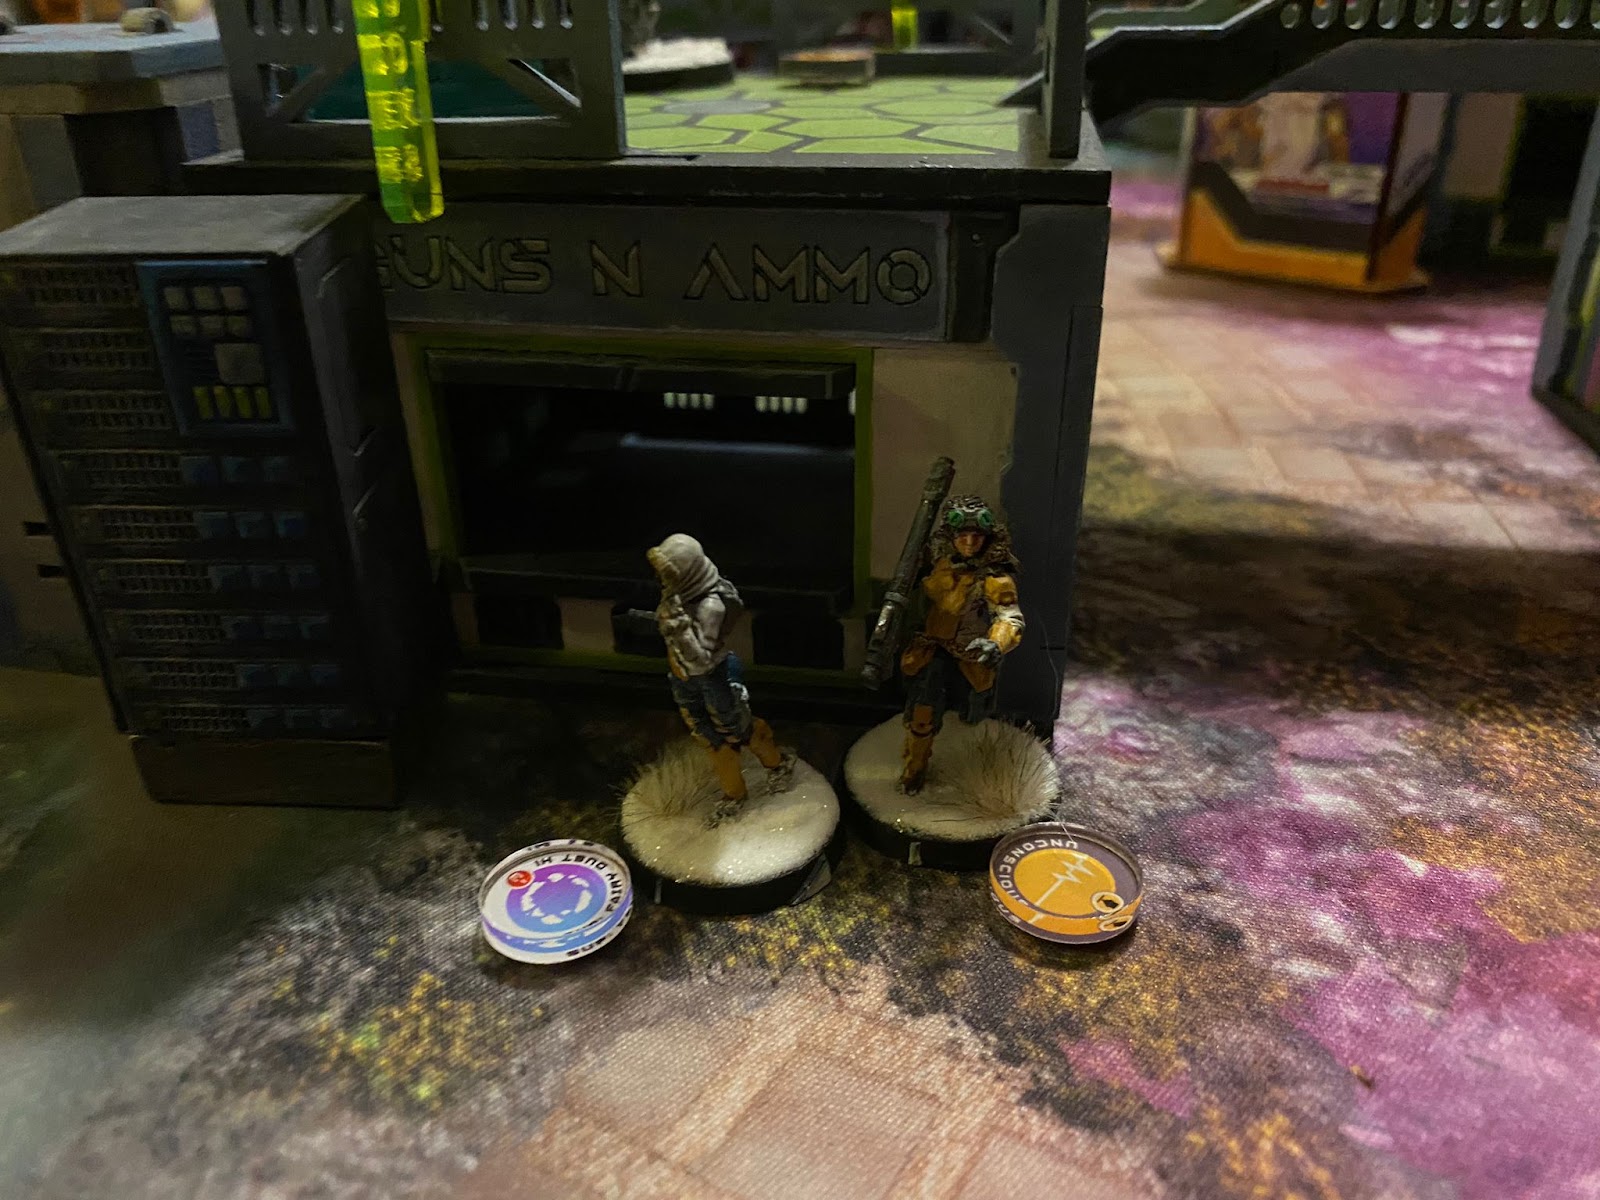
Zhanshi Lieutenant moves in reach of Yé Māo's box and retrieves it. Beasthunter Destroy Crate6 and stood his ground, being able to deny the opponent scoring Secure HVT.
Post Game Analysis
JCC has five secured boxes (5 Operation Points), more extracted Shipping Crates (three, for 1 Operation Point), same number of destroyed Shipping Crates (no Operation Points) and completed Extend Arachne Network (Secret Objective, for 1 Operation Points) for a grand total of 7 Operation Points. JCC comes out on top, with 223 Victory Points. Bandit is appointed as MVP.
WBA has four secured boxes (4 Operation Points), same number of destroyed Shipping Crates (no Operation Points), a completed Classified Objective (Telemetry, for 1 Operation Point) and completed Extract IFF Logs (Secret Objective, for 1 Operation Points) for a grand total of 6 Operation Points. WBA gets a close loss with 79 Victory Points. Yé Māo is appointed as MVP.
The game was pretty close until the last turn. I could have scored Secure HVT if I have left Dokkaebi in a better position. Dàofěi going unconscious was a pretty bad blow, a risk I had to take because I wasn’t so sure I would have been able to accomplish Telemetry later in the game.
All in all, a good game against a great player.


Commenti
Posta un commento